Fresh install
Overview
The "inPoint.Wizard" is a deployment tool which is completely installing and configuring an inPoint server instance. After a successful installation the inPoint server is ready for use.
inPoint.Wizard zip files:
-
inPoint Server_<version>_\<suffix>.zip- Full package - includes SQL Server & ContentAccess
-
inPoint Server-noSQL_<version>_\<suffix>.zip- Excludes SQL Server
-
inPoint Server-noSQL-NoCA_<version>_\<suffix>.zip- Excludes ContentAccess and SQL Server)
Installation types:
- Fresh install:
The fresh install can be executed in an automatic mode and an advanced mode. The automatic mode will install all of the components with default values. It is installing also the database server (SQL Server Express edition).
The advanced mode can be started with customized values - the database and storage connection must be configured manually. It is using an existing database server (SQL or Oracle).
- Cluster install:
The cluster mode installs only the components without doing any db changes. The db connection is pointing automatically to the database from the master node.
- Upgrade:
The upgrade mode is upgrading the complete inPoint server instance to the new version. The installation directory will be backuped before the process starts.
Logging:
The logfile is located in the execution directory of the inPoint.Wizard. (inPoint.Setup.log)
Interactive mode
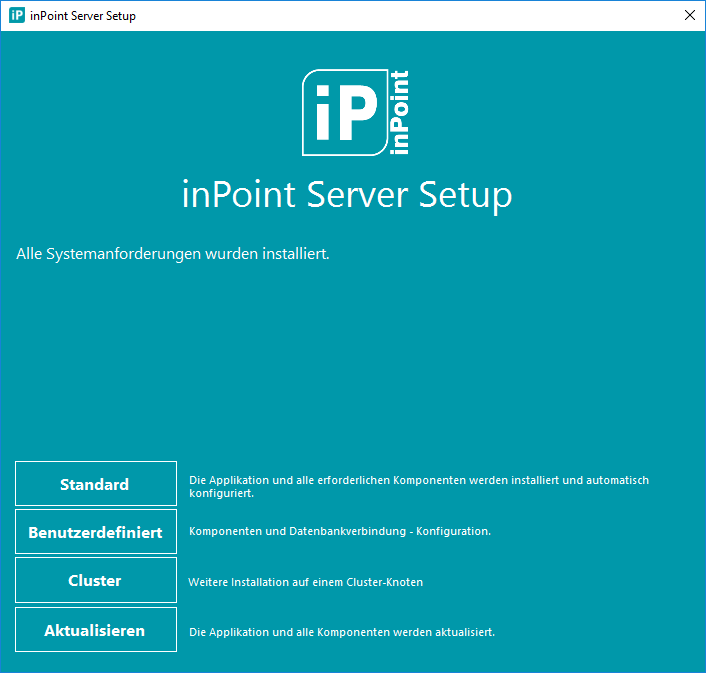
Standard:
Includes a complete fresh database (SQL Server) and inPoint Server installation. The inPoint.Wizard (zip file) contains the SQL Server Setup (Express edition).
If the SQL Server setup is missing from the zip file then you will be automatically forwarded to the "Benutzerdefiniert" dialog where you can configure the connection to an already existing database.
Benutzerdefiniert:

Installations-Verzeichnis:
This is the root installation directory. All of the products will be installed under this folder.
Datenbank Einstellungen:
This area contains the database connection settings. You can install a new SQL Server instance or use an existing one.
Storage Einstellungen:
This area contains the storage settings.
-
Tenant-Name:
Name of the tenant, which is created in HybridStore -
Schema-Name:
Name of the scheme, which is created in HybridStore -
Retention-Typ:
Choose the correct type if the hardware used for storage is supporting retention dates (Protect the files against unwanted deletion) -
Pfad:
The path were the files are saved -
Interner-Name:
Name of the HybridStore location
Erweiterte Konfiguration:
After clicking on the "Erweiterte Konfiguration"-Button you will see this dialog:

In this dialog you can set customized storage folder, change the IIS HTTP Port and also configure the notification service connection.
ElasticSearch:
After clicking on the button "ElasticSearch" - the dialog for elasticSearch configuration will be opened.

In this dialog you can configure a new instance of elasticSearch which will be installed locally or you can configure a connection to an existing elasticsearch server.
Aktualisieren:

The wizard is upgrading the complete inPoint.Server instance. (Applications + database changes)
A backup of the whole installation directory will be created before the upgrade.
Example path:
"..\H&S Heilig und Schubert Software AG\Backup\20191216\inPointServer_20191216_064618.zip")
ElasticSearch is also upgraded if its installed on the same machine and the wizard includes a newer version.
See more details related to the upgrade process
Silent mode
not supported
inPoint.Client
Important:
-
Run as administrator
-
Install the prerequisites manually
-
The client setup is a MSI file
-
For the normal installation with UI - it´s not needed to start the MSI package inside a Command Prompt as administrator. The UAC dialog is shown directly after starting the MSI package.
-
Default path for MSI log files:
Path: C:\Users\%user%\AppData\Local\Temp
Environment variable: %temp%
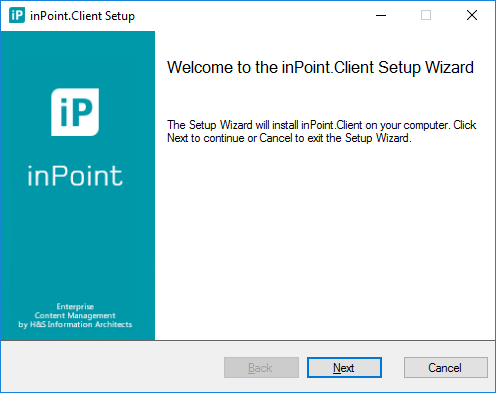
Interactive mode
- Choose your language

- Click on "Next"-Button
- Choose the installation directory
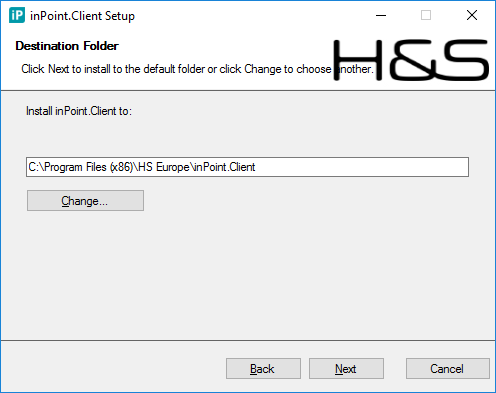
Customized installation directory:
Please make sure that your installation folder is not shared with other products. The setup will put all of the components to the configured installation directory. The content of this folder will be removed during uninstall or upgrade.
- Choose the features which should be installed
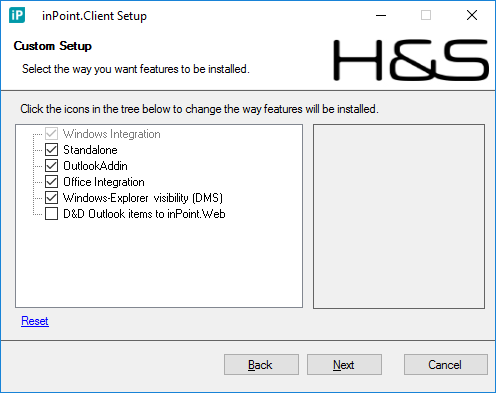
Features:
Windows Integration
- This installs a virtual drive to access inPoint to access directly from within Windows explorer.
- Required for the installation
- For silent install use this feature name
F_WindowsIntegration
Standalone
- This includes the inPoint Standalone windows application.
- Enabled for default installation
- For silent install use this feature name
F_Standalone
OutlookAddin
- This includes the inPoint Outlook Add-in to access inPoint files from MS Outlook.
- Enabled for default installation
- For silent install use this feature name
F_OutlookAddin
Office Integration
- This includes the inPoint Word and Excel Add-in to directly archive to inPoint.
- Enabled for default installation
- For silent install use this feature name
F_OfficeIntegration
Windows-Explorer visibility (DMS)
- This installs a virtual drive to access inPoint directly from within Windows explorer.
- Enabled for default installation
- For silent install use this feature name
F_ExplorerVisibility
D&D Outlook items to inPoint.Web
- Drag and Drop Outlook items to inPoint.Web. (Office 2013, 2016, 2019)
- Not enabled by default
- For silent install use this feature name
F_OutlookDragDrop
- Choose your Web & Service URL to connect to your inPoint Server and click on Install
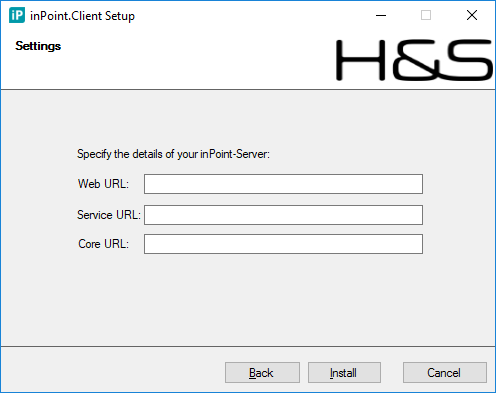
Web URL
Example: http://<host>/pam.web
Service URL
Example: net.tcp://<host>/pam.web
Core URL (Optional)
Example: https://<host>:8443
If the Core URL is configured, things like Plugins, User images, Thumbnail or Preview are retrieved from the core service.
Make sure that the Firewall for inPoint.Core is configured that way, so all Clients are allowed to access it.
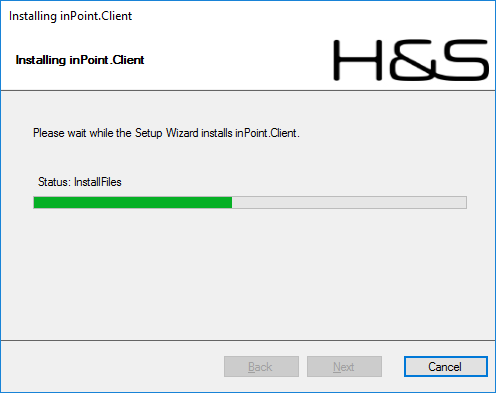
- The installation process has started
- Installation is finished successful
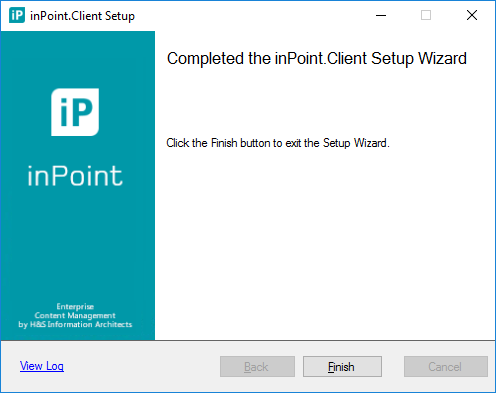
Logfile You can check your logfile by clicking on “View Log”. The logfile is saved temporarly and will by removed automatically after clicking on “Finish”.
- Verify your installation
-
Open Programs and Features and check if “inPoint.Client” is there with the correct version number and installed date.
-
Start inPoint.Standalone
Silent mode
This chapter describes how to install the inPoint Client in a silent mode. (Without UI and user interaction)
The "inPoint.Client.Setup" is a MSI-package without any included prerequisites.
Use this link for detailed description of all the other "msiexec.exe"
parameters:
https://msdn.microsoft.com/en-us/library/windows/desktop/aa367988(v=vs.85).aspx
AdoptOpenJDK Latest release
Advanced:
-
If you want to check the content of a MSI package without installing it then use as example the tool "lessmsi" (https://lessmsi.activescott.com/)
-
You can also extract the MSI package into a folder without installing it:
Command:
msiexec.exe /a "C:\Temp\inPoint.Client_2020.1.1.1.msi" TARGETDIR="C:\temp\SetupFiles"
The files are now added to the configured "TARGETDIR" and there should be no entry inside the programs and features. -
Hide inPoint in explorer run Hide_inPoint_Explorer.bat (included in wizard zip file - tools directory)
Silent install
Command (Command Prompt - Run as administrator):
Parameters:
/I - install
/x- uninstall
/qn - No GUI
/L\*v - /L = enable logging, V = verbose output
Default path: "C:\temp\inPoint.Client.log"
WEBURL - Property (added to registry)
Example: http://<host>/pam.web/
SERVICEURL - Property (added to registry)
Example: net.tcp://<host>/pam.web/
COREURL - Optional property (added to registry)
Example: https://<host>:8443
If the coreURL is configured, things like Plugins, User images, Thumbnail or Preview are retrieved from the core service.
Make sure that the Firewall for inPoint.Core is configured that way, so all Clients are allowed to access it.
INSTALLDIR - Path for install directory
Default: "C:\Program Files (x86)\HS Europe\inPoint.Client"
ADDLOCAL - Sets the feature(s) which should be installed
ALL : All features will be installed
F_WindowsIntegration* : Installs a virtual drive to access inPoint directly from within windows explorer.
F_Standalone : Includes standalone windows application
F_OutlookAddin : Includes inPoint Outlook Add-in to access inPoint files from MS Outlook.
F_ExplorerVisibility : This installs a virtual drive to access inPoint directly from within Windows explorer.
F_OfficeIntegration : Includes the inPoint Word and Excel Add-in to directly archive to inPoint.
F_OutlookDragDrop : Drag and Drop Outlook items to inPoint.Web. (Office 2013, 2016, 2019)
Silent installation:
msiexec.exe /I "C:\Install\inPoint.Client 2020.1.1.1.msi" /qn /L\*v "C:\temp\inPoint.Client.log"
WEBURL="http://<host>/pam.web"
SERVICEURL="net.tcp://<host>/pam.web"
COREURL="https://<host>:8443"
Silent installation - Change the installation directory:
msiexec.exe /I "C:\Install\inPoint.Client 2020.1.1.1.msi" /qn /L\*v "C:\temp\inPoint.Client.log" INSTALLDIR="C:\inPoint.Client"
WEBURL="http://<host>/pam.web"
SERVICEURL="net.tcp://<host>/pam.web"
COREURL="https://<host>:8443"
Silent installation - Feature selection:
Msiexec.exe /I "C:\Install\inPoint.Client 2020.1.1.1.msi" /qn /L*v "C:\temp\inPoint.Client.log"
ADDLOCAL=F_WindowsIntegration,F_Standalone,F_OutlookAddin,F_ExplorerVisibility,F_OfficeIntegration
WEBURL="http://<host>/pam.web"
SERVICEURL="net.tcp://<host>/pam.web"
COREURL="https://<host>:8443"
inPoint.HybridStore
Interactive mode
- Start the HybridStore setup

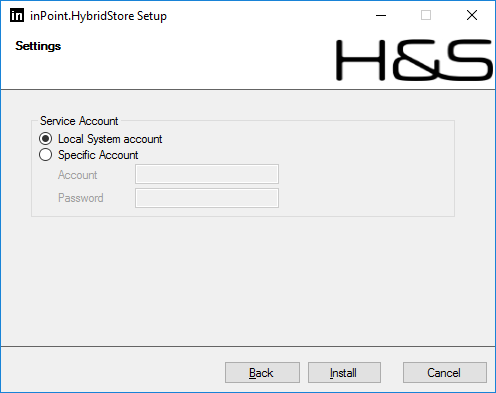
- Configure your settings
The "inPoint.HybridStore"-Service can run with the "local system" or with a specific account.
Example: user@domain
- Installation
After the installation has finished successful - the service "inPoint.HybridStore" should be there and running under the configured user name.
Silent mode
This chapter describes the silent installation process of inPoint HybridStore. The setup itself doesnt contain any prerequisites.
MSI default command-line options
Parameters:
/I - install
/x - uninstall
/qn - No GUI
/L\*v - /L = enable logging, V = verbose output
INSTALLDIR - Path for install directory
Default: "C:\Program Files (x86)\HS Europe\inPoint.HybridStore"
START_SERVICE - Starts the service automatically after the installation
Default: True
SERVICE_USER - The service will run under this username
Default: Local System
SERVICE_PASS - The service will run under this username password
Default: empty
Examples:
Command (CMD - run as Administrator):
Silent install:
msiexec.exe /I "C:\Install\inPoint.HybridStore_2018.1.1.1.msi" /qn /L*v "C:\temp\inPoint.HybridStore.log"
Silent install - Change install directory & set service user (Optional):
msiexec.exe /I "C:\Install\inPoint.HybridStore_2018.1.1.1.msi" START_SERVICE=false SERVICE_USER="user@domain" SERVICE_PASS="test" /qn /L*v "C:\temp\inPoint.HybridStore.log" INSTALLDIR="C:\inPoint.HybridStore"
inPoint.Core
Interactive mode
- Start the inPoint.Core setup
- Set the install directory
Default: "C:\Program Files (x86)\HS Europe\inPoint.Core"
Please make sure that your installation folder is not shared with other products.\ The setup will put all of the components to the configured installation directory.\ The content of this folder will be removed during uninstall or upgrade.
- Configure your settings
Select your certificate, type your URL and the port.
- The installation process has started
- Finished
After the installation has finished successful - the service inPoint.Core should be there and running.
Silent mode
Silent installation (without any GUI intervention) is also possible by either providing all required parameters in the command line or by providing an "install.json" file with the parameters pre-filled.
Command (CMD - run as Administrator):
Parameters:
/I - install
/x- uninstall
/qn - No GUI
/L\*v - /L = enable logging, V = verbose output
INSTALLDIR - Path for install directory
Default: "C:\Program Files (x86)\HS Europe\inPoint.Core"
URL - application URL (Required)
APIPORT - application port (Required)
SETTING_CERT - contains the certificate thumbprint (Required)
Examples:
Silent installation:
msiexec.exe /I "C:\Install\inPoint.Core 2018.1.1.1.msi" URL="https://<host>.local" APIPORT="8443" SETTINGS_CERT="<certificateThumbprint>" /qn /L\*v "C:\temp\inPoint.Core.log""
WEBURL="http://<host>/pam.web"
SERVICEURL="net.tcp://<host>/pam.web"
Silent installation by providing an "install.json":
msiexec.exe /I "C:\Install\inPoint.Core 2018.1.1.1.msi" CONFIG="install.json" /qn /L\*v "C:\temp\inPoint.Core.log""
WEBURL="http://<host>/pam.web"
SERVICEURL="net.tcp://<host>/pam.web"
install.json:
{
"cert":  "<certificate thumbprint>",
"URL":  "https://<host>.local",
"APIPORT":  8443
}
inPoint.CloudSync
The service synchronizes files saved in Office 365 to inPoint.
Prepare Office 365
Create a certificate for authentication (optional)
Create a certificate using 'sha256RSA' and a minimum length of 2048 bit on the computer where the service will be running. Then export the public key to a file, which will be used later!
For example using this PowerShell script (adapt the names and the expiration) which will create a certificate and stores it in the computer certificates.
$certName = "inPoint.CloudSync"
$certPath = "C:\temp\inPoint.CloudSync.Public.crt"
$expire   = (Get-Date).AddYears(10)

$Params = @{
   "DnsName"           = @($certName)
   "Subject"           = "CN=$($certName)"
   "CertStoreLocation" = "Cert:\LocalMachine\My"
   "NotAfter"          = $expire
   "KeyAlgorithm"      = "RSA"
   "KeyLength"         = "2048"
}

$myCert   = New-SelfSignedCertificate @Params
Write-Host "Thumbprint:" $myCert.Thumbprint
$certData = $myCert.Export([System.Security.Cryptography.X509Certificates.X509ContentType]::Cert)
[System.IO.File]::WriteAllBytes($certPath, $certData)
Important
Ensure that the user running the service of inPoint.CloudSync has rights to access the certificate!
In that case the service will log an error with "Keyset does not exist"!
Register the App in Azure AD
Sign in to the Azure Portal with an account which has administrative rights.
If your account gives you access to more than one tenant, select your account in the top right corner, and set your portal session to the Azure AD tenant that you want.
In the left-hand navigation pane, select the Azure Active Directory service, and then select App registrations > New registration.
Register the App
When the Register an application page appears, enter your application's registration information.
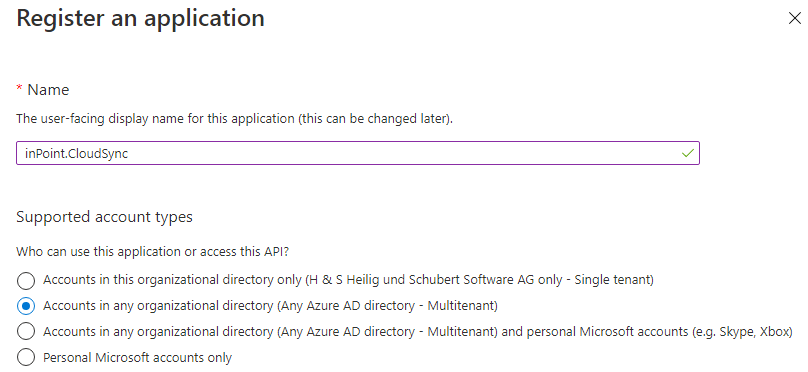
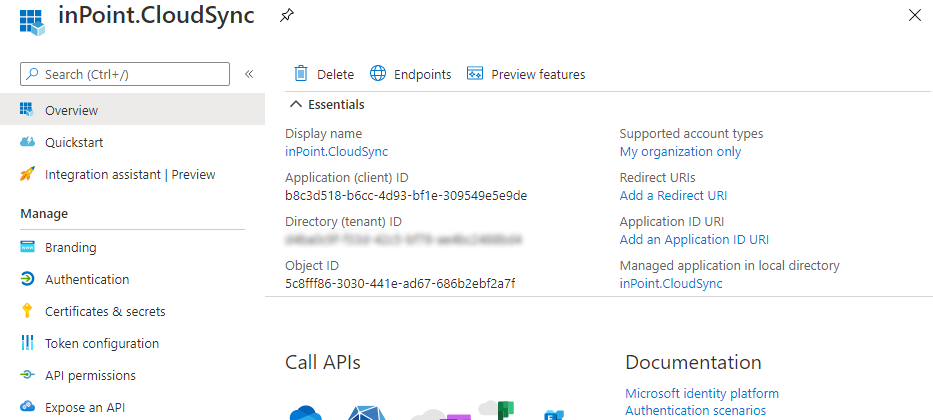
Application Details
After clicking "Register", you see the application details. Copy the "Application (client) ID" and Directory (tenant) ID for later.
Authentication
Go to "Certificates & Secrets", to choose how inPoint should authenticate. Use certificates or secrets (passwords). If you use multiple server add one for each server.
Important
All authentication methods will expire, remember to update them before they do!
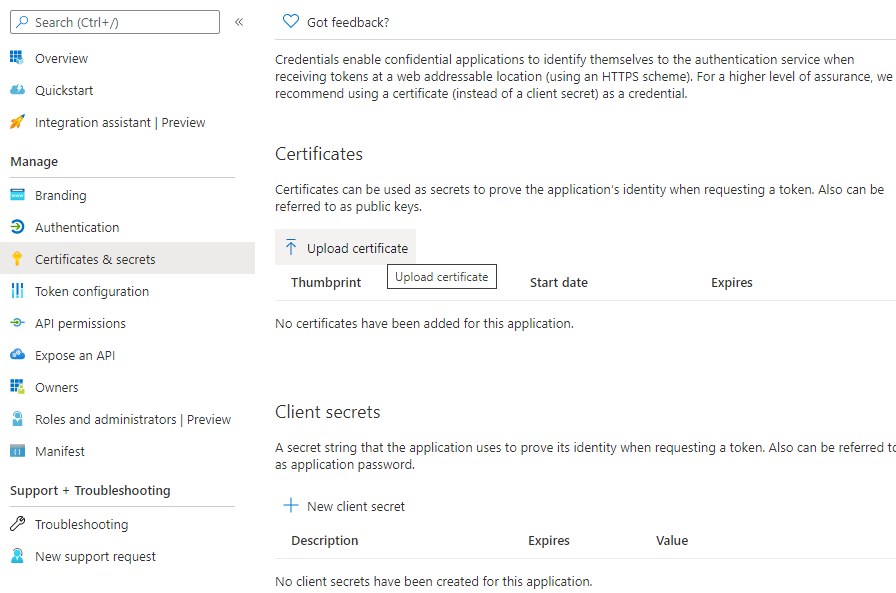
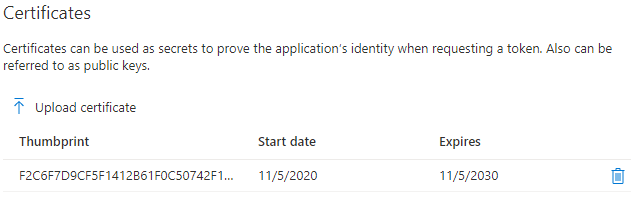
Certificate
Choose "Upload Certificate" and use the previously exported public key of the certificate. After upload it will be added to the list of certificates.
Users Secrets
Instead of certificates it's possible to use generated passwords.
Click "New client secret" and enter a description and an expiration.

After clicking "Add" the secret will be added. Use the "copy" icon on the right to copy he password and save it.
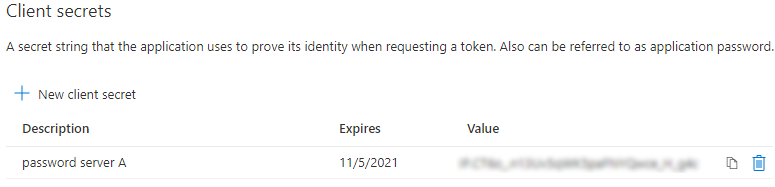
Important
Copy the new client secret value. You won't be able to retrieve it after you perform another operation or leave the page.
Permissions
Go to "API Permission" and add the required permissions.
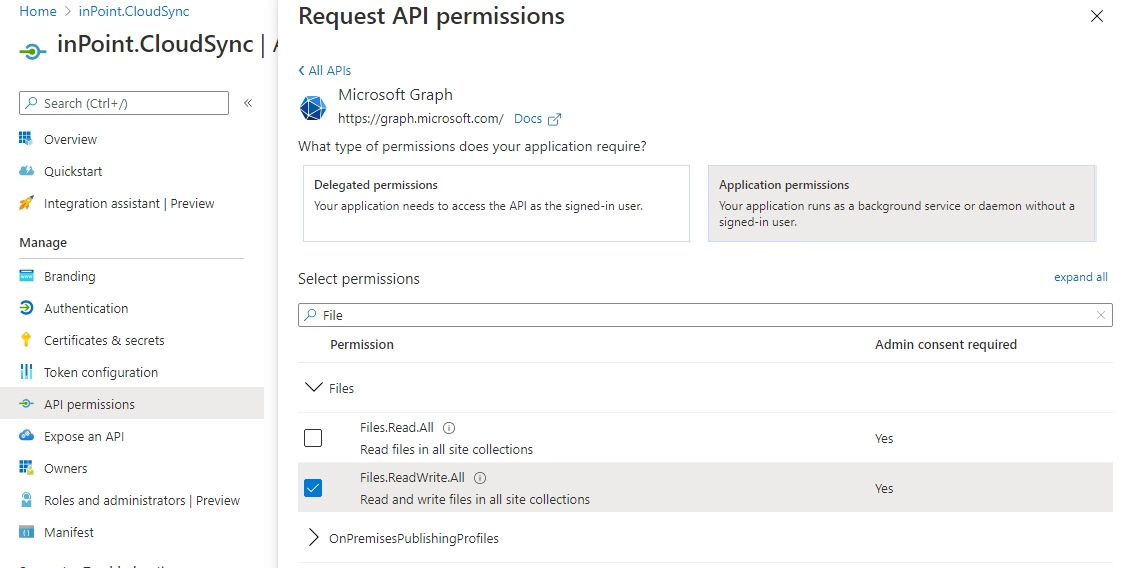 For "Microsoft APIs" choose "Microsoft Graph" and for the type of permission use "Application permissions" since inPoint.CloudSync runs as background service.
Start typing the name of the permission to filter the list, check the box to and then continue with the next name. Press "Add Permission" when all required permissions are added.
Required Rights
- Files.ReadWrite.All
- Directory.ReadWrite.All
- Sites.FullControl.All
- Group.ReadWrite.All
- User.Read.All
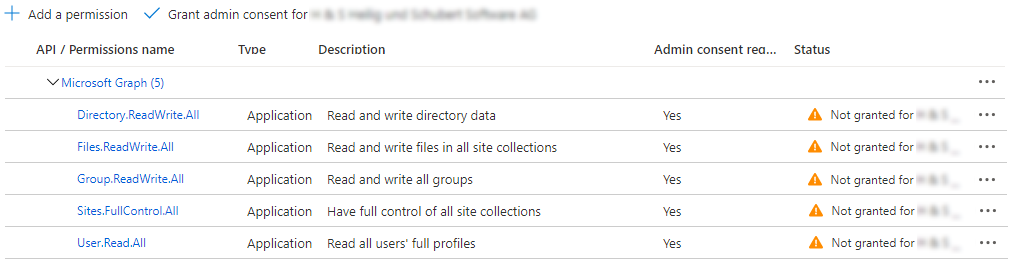
After that click on grant admin consent to allow this and all warnings will turn green.
Install inPoint.Sync
Language Selection
Start the inPoint.CloudSync setup and select the language for the installation process.
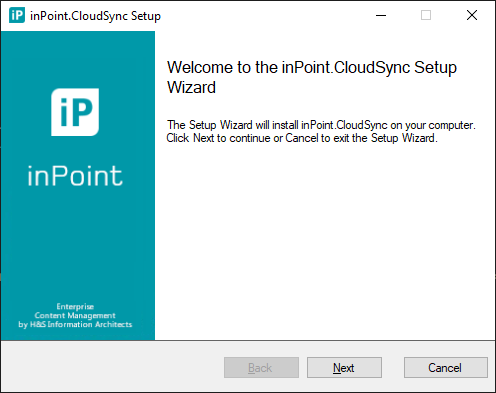
Welcome screen
Click "next" to continue
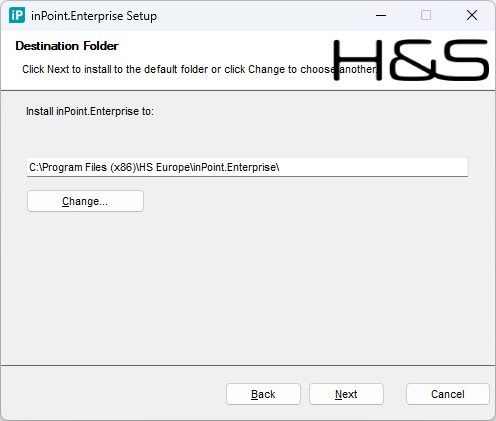
Install directory
Set the install directory
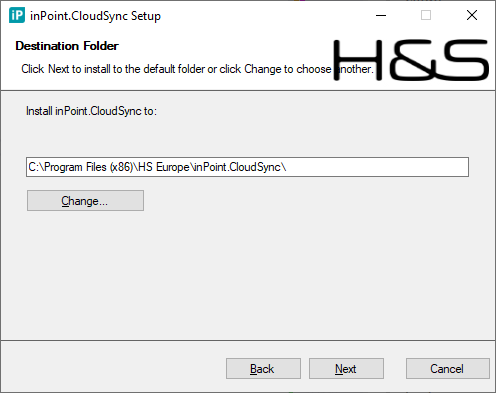
Default: "C:\Program Files (x86)\HS Europe\inPoint.CloudSync"
Please make sure that your installation folder is not shared with other products.\ The setup will put all of the components to the configured installation directory.\ The content of this folder will be removed during uninstall or upgrade.
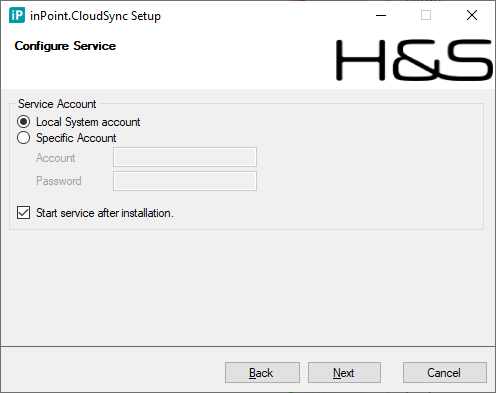
Configure the windows-service
Choose a specific user or the local system account. If a user account is used, it will be given the "Log on as a service" permissions automatically.
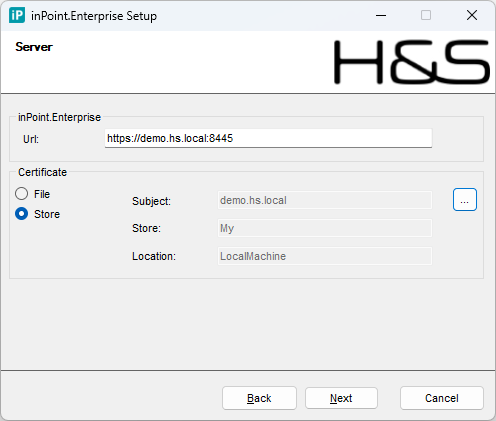
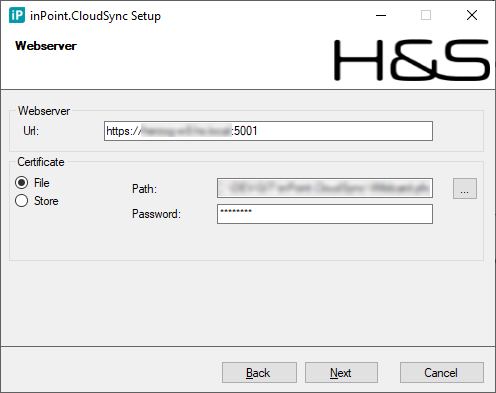
Configure the web-service
Choose the URL where the service will be reachable, make sure that the port is not already in use.
Certificate from filesystem
Choose "File" and enter path and password of a locally stored certificate.
Press the button with the three dots to open a file dialog.
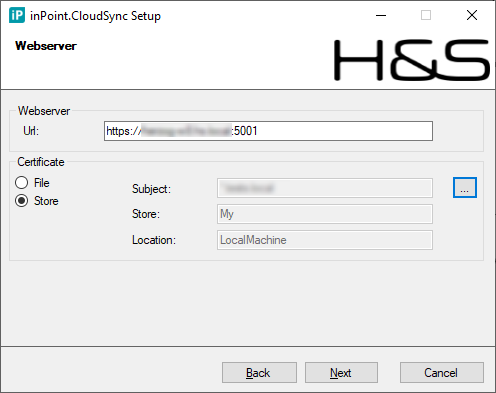
Certificate from store (recommended)
Choose "Store" and use the btton with the three dots to select a certificate from the machine store.
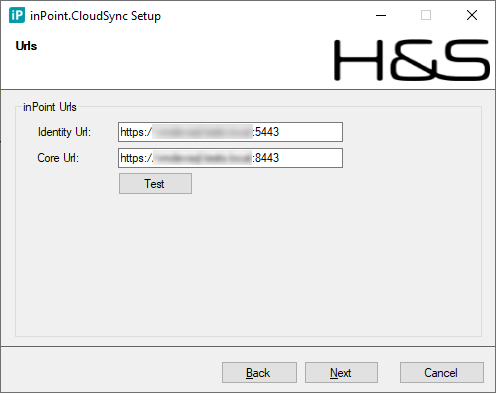
Connect to inPoint
The service of inPoint.CloudSync must communicate with other inPoint service. Enter the correct URLs here. (in case of a local installation the URLs should already be pre-filled)
Connect to Office 365
Enter the ID of your tenant and the application ID (both is visible when creating the application in Azure AD. Depending on the settings choose Certificate or Client secret.
The "Cloud instance" is always https://login.microsoftonline.com/{0} for Microsoft.
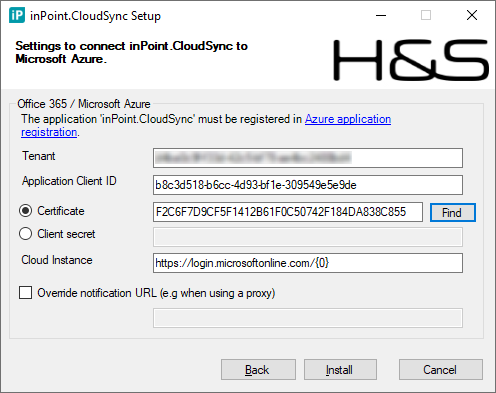
If the server itself is not reachable from the internet, it's required to use some kind of proxy or forward to allow notifications from Microsoft to reach inPoint.CloudSync.
The configured URL must forward all request to the installed service with the path /api/notification at the end.
e.g.
The inPoint.CloudSync service is running on: https://inpoint.example.local:5001 (not reachable from the internet)!
A public proxy at https://public.example.com/o365notifications will forward all incoming https requests to https://inpoint.example.local:5001/api/notification.
In this case the value to be entered would be https://public.example.com/o365notifications.
Click "Install" to start the installation process.
Finished
After the installation has finished successful - the service inPoint.CloudSync should be there and running (if the checkbox start after install was checked).
Silent mode
Silent installation (without any GUI intervention) is also possible by either providing all required parameters in the command line or by providing an "install.json" file with the parameters pre-filled.
Command (CMD - run as Administrator):
Parameters
/I- install/x- uninstall/qn- No GUI/L\*v- /L = enable logging, V = verbose output
Install directory
INSTALLDIR- Path for install directory
Default: "C:\Program Files (x86)\HS Europe\inPoint.CloudSync"
Configure the windows-service
SERVICE_USER- Run the service as this user instead of local system.SERVICE_PASS- Password of the service user.START_SERVICE- Start the service after the installation.
Default: falseSERVICE_SID_GRANT- grant this user "Log on as a service" permission (should be the SID of theSTART_SERVICE)
Configure the web-service
CLOUDSYNCURL- URL where inPoint.CloudSync is published
Default: https://<full qualified machine name>:5001
Certificate from filesystem
CERTPATH- the path to a certificate on the file systemCERTPASSWORD- the password to open the certificate
Certificate from store (recommended)
CERTSUBJECT- the subject of the certificate (e.g. the full qualified name of the server)CERTSTORE- the store for the certificate (e.g. "My")CERTLOCATION- the location of the certificate for https (e.g. "LocalMachine").
Connect to inPoint
IDENTITYURL- the url for inPoint.Identity (leave empty if installed locally)COREURL- the url for inPoint.Core (leave empty if installed locally)COREAPIKEY- API-Key for connecting to inPoint.
Connect to Office 365
-
O365_TENANT- the tenant in Azure AD -
O365_CLIENTID- the application client ID -
O365_CLIENTCERT- the thumbprint of the certificate -
O365_CLIENTSECRET- the password (client secret). -
O365_INSTANCE- the URL of Azure AD
Default:https://login.microsoftonline.com/{0} -
O365_NOTIFICATIONURL- the public reachable notification URL