Fulltext Search Index Migration
Verify the version of all indexes
Upgrade of ElastisSearch to version 7.x is only possible if all indexes are at least version 6.0.
Use Kibana to execute this:
GET _settings/*.version.created*?pretty&human
or if not possible, use your browser directly (adapt port and server name as appropriate)
http://servername:9200/_settings/*.version.created*?pretty&human
The result will list all indexes and their version, in this example the index called "inpoint" is too old and needs to be update before the installation.
  ".tasks" : {
    "settings" : {
      "index" : {
        "version" : {
          "created_string" : "6.0.1",
          "created" : "6000199"
        }
      }
    }
  },
  "inpoint" : {
    "settings" : {
      "index" : {
        "version" : {
          "created_string" : "5.4.2",
          "created" : "5040200"
        }
      }
    }
  },
  ".monitoring-es-6-2019.12.07" : {
    "settings" : {
      "index" : {
        "version" : {
          "created_string" : "6.4.3",
          "created" : "6040399"
        }
      }
    }
  }
Upgrade system indexes
Important!
This is only possible and required in version 6.* of ElasticSearch!
For later versions wait until version 7.17.4 and use Kibana and go to 'Stack Management' and 'Upgrade Assistant' for updating the system indexes. It's possible to delete the index and let the system create it automatically next time. No inPoint data is lost, but you loose all your Kibana settings (indexes, graphs, dashboards) and monitoring information.
Execute this command in Kibana, it will return all system indexes where an automated upgrade can be done
GET /_xpack/migration/assistance
For each index listed here, execute the next command (please note that all names are in lower case).
POST /_xpack/migration/upgrade/<index_name>
Delete unused indexes
All indexes which are not longer in use, can be deleted. This can includes old logs from Kibana which are not needed any more. It's possible to drop the system indexes e.g. '.tasks' or '.kibana' without loosing critical data, of course monitoring information or the settings in Kibana are lost.
DELETE <index_name>
Migrate inPoint indexes
There are two ways of migrating, either directly on the machine or by creating a new machine and migrating remotely. In all cases a new copy of the old index is created. This means that the size of the index is at least doubled.
Create a new empty index
Create the new index with the currently installed indexer. Open a command line in the installation directory of inPoint.Indexer (default is: C:\Program Files (x86)\HS Europe\inPoint.Indexer) and write the script creation commands into a file.
inPoint.Indexer.exe CREATEINDEX /IndexName inpoint20191201 /Analyzer inPoint_DE_EN > C:\Temp\index.txt
/IndexName:
Use a meaningful name for the index, it's recommended to use an alias for it later.
/Analyzer:
The default is "inPoint_DE_EN", but all analyzers supported by ElasticSearch are allowed here.
The script for creating the index is now saved in C:\Temp\index.txt, this includes two commands which have to be executed in Kibana in the next step.
Execute the first command:
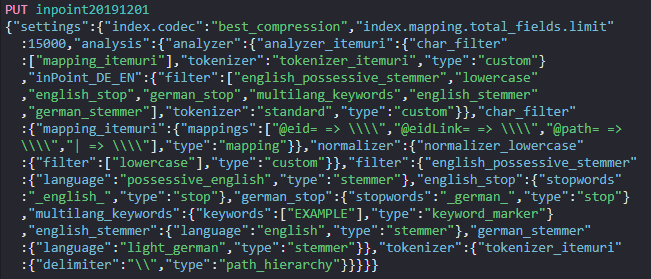
Which will return this success message:

Then execute the second command.
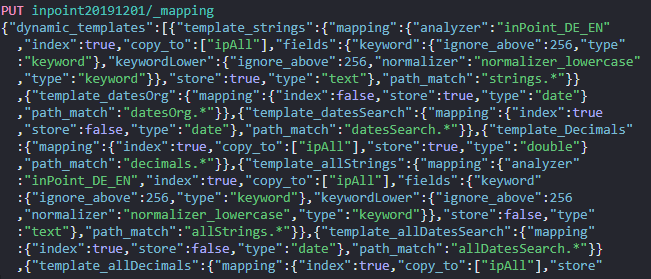
Which will return this success message:

The new empty index is now created and can be filled in the next step.
Migrate the data into the new index (local)
Use "Kibana" to write the index from old into new using the reindex api. Make sure that the server has enough disk space, the size of the index will doubled.
POST _reindex
{
  "source": {
    "index": "inpoint"
  },
  "dest": {
    "index": "inpoint20191201"
  }
}
Use the Monitoring inside of kibana to check the size and document count of the new index. Or fetch the count of documents with this command.
Kibana (enter the correct name of the indexes):
GET /inpoint/_count
GET /inpoint20191201/_count
Browser (enter the correct name of the server and of the indexes):
http://<server name>:9200/inpoint/_count
http://<server name>:9200/inpoint20191201/_count
Migrate the data into the new index (remote)
Use "Kibana" to write the index from old into new using the remote reindex api. Make sure that the server has enough disk space, the size of the new index will be roughly the same size as the old index.
Enable the new server to read from your old cluster by adding your old cluster to the reindex.remote.whitelist in elasticsearch.yml:
elasticsearch-7-4-2-upgrade-index-migrate-elasticsearch.yml.png

Add this setting:
reindex.remote.whitelist: oldServer:9200
After that you need to restart the service of ElasticSearch (e.g on the commandline):
net stop elasticsearch
net start elasticsearch
After the new cluster is up and running again, execute this statement in Kibana to start the migration.
POST _reindex
{
  "source": {
    "remote": {
      "host": "http://oldServer:9200",
      "username": "user",
      "password": "pass"
    },
    "index": "inpoint"
  },
  "dest": {
    "index": "inpoint20191201"
  }
}
"source":
This defines the old index and how the server can connect to it.
"dest":
This is the name of the new index, which was created in the previous step.
Use the Monitoring inside of kibana to check the size and document count of the new index. Or fetch the count of documents with this command.
Kibana (enter the correct name of the indexes, execute the first command on the old server):
GET /inpoint/_count
GET /inpoint20191201/_count
Browser (enter the correct name of the server and of the indexes):
http://<oldServer>:9200/inpoint/_count
http://<newServer>:9200/inpoint20191201/_count
Delete the old index
Execute this in kibana, make sure that the migration has finished.
DELETE <index_name>
Create an Alias
An alias is useful to split between the logical name and the physical name.
Here a new alias is created, so that the index inpoint20191107 can be accessed as inpoint.
POST /_aliases
{
    "actions" : [
        { "add" : { "index" : "inpoint20191107", "alias" : "inpoint" } }
    ]
}
Now you can continue with the upgrade to 7.7.1 or higher!