SSL Certificates
Overview
An SSL Certificate is used to bind to an HTTPS Web Port ("Server Authentication") and to sign the Identity Tokens ("Code Signing"). There is no way to run only under HTTP, and if you want to access the sites from external browsers (not in the domain) this certificate should be from a valid CA (Certificate Authority). Either purchased or from free providers (like Let's Encrypt). Otherwise an internal Certificate issued from your local Domain Controller is enough.
Requirements
- A correct CN (Common Name) and DNS Name set to the FQDN of machine (in lower case) which will be used to access inPoint
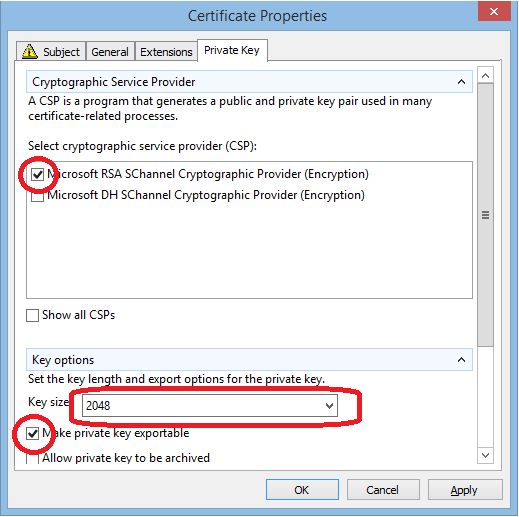
- At least 2048 RSA strong
- Have a private key
- be exportable (if set as path)
- Be created with RSA "Microsoft Strong Cryptographic Provider" (see Error: Invalid Provider type specified)
Generate a Certificate
Depending on the environment it's possible to have it generated automatically or it may be required to request it step by step.
- Automatically via IIS
- Manually, step by step (allows more advanced settings)
- Self signed (for local testing only)
Automatically via IIS
If the following is true:
- IIS already installed on host machine
- part of an Active Directory
- Microsoft Active Directory Certificate Services enabled in AD
Then you can use IIS to issue a certificate request and install it in one go.
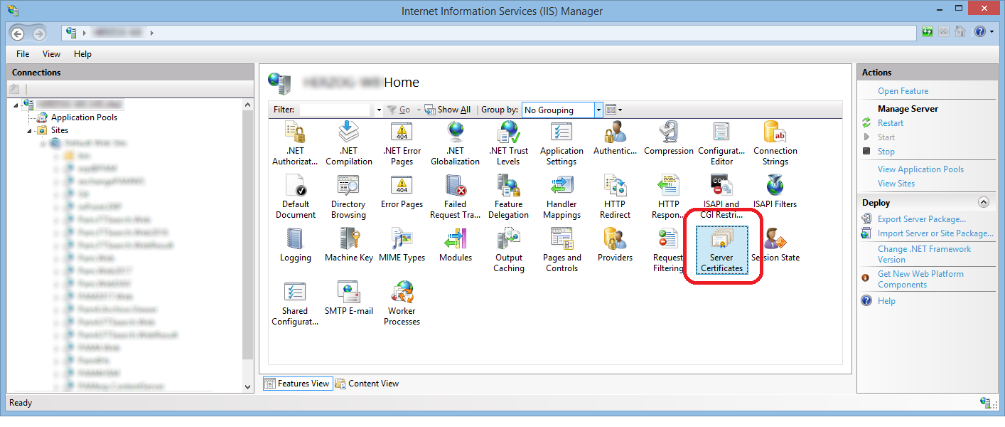
Open IIS Manager and select "Server Certificates":
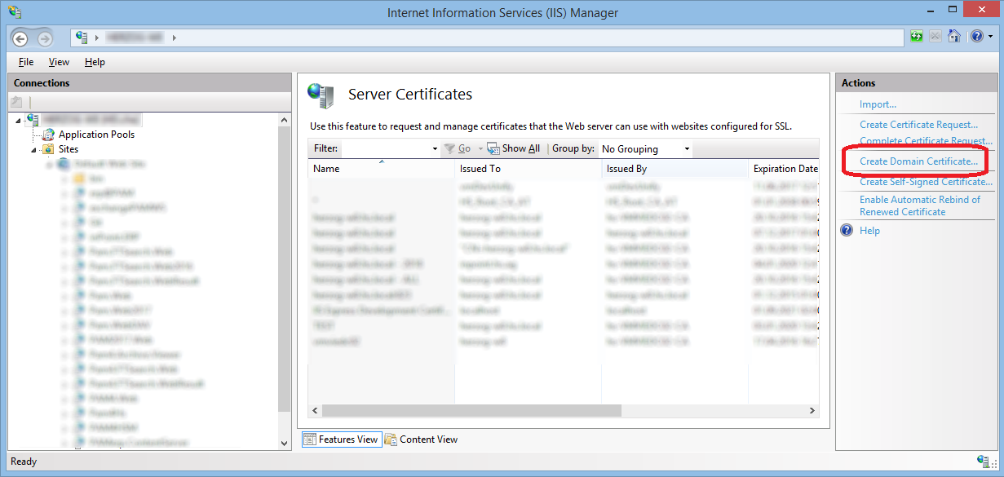
"Create Domain Certificate":
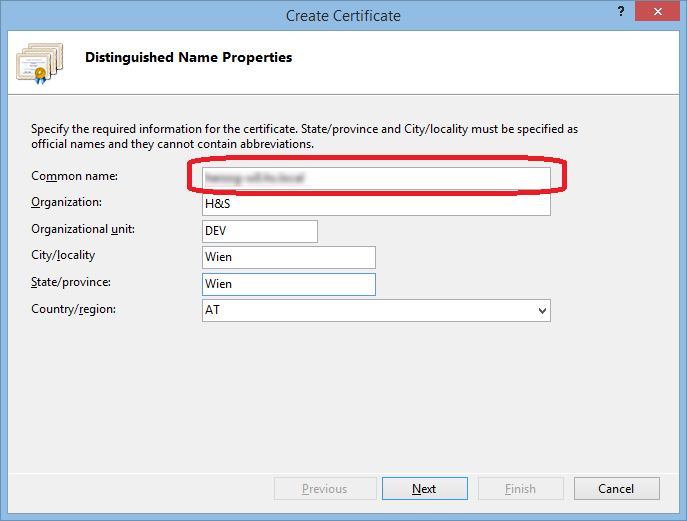
Enter in Common name the fully qualified name of the hostname, and fill the rest of the values:
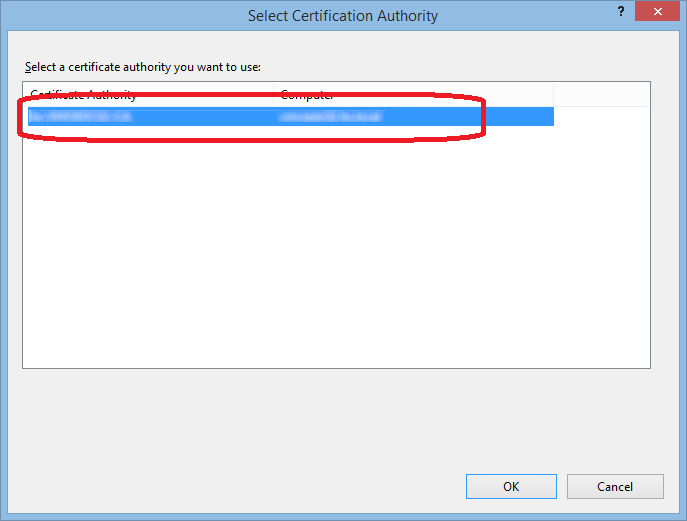
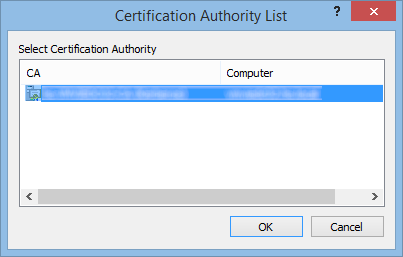
Click Next and the Select a CA:
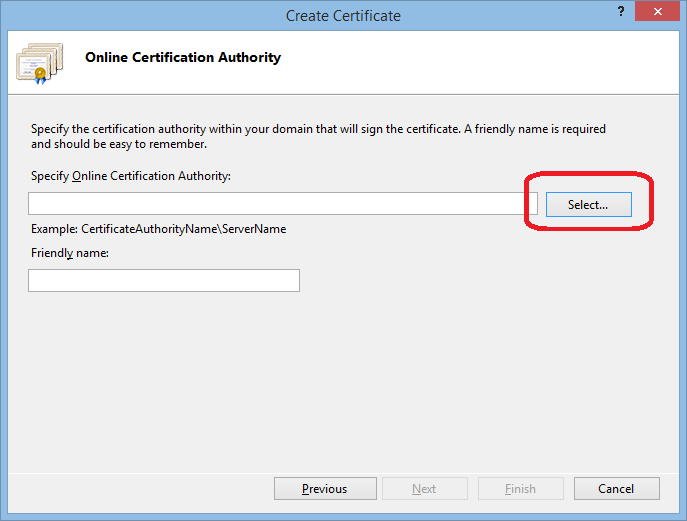
Select your Certification Authority.
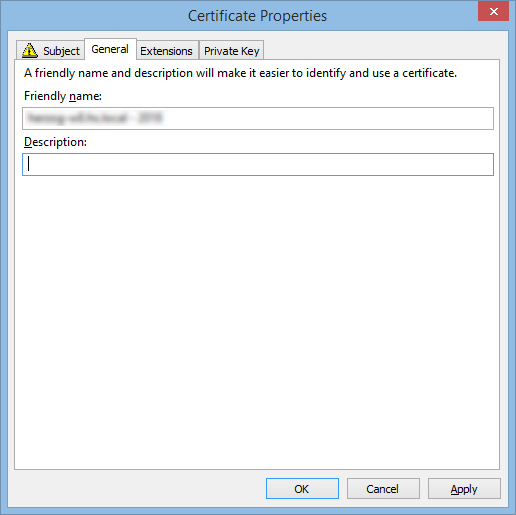
Fill in the friendly name (this will only be visible in the Certificates Manager, it can be changed later, because it's not part of the certificate itself):
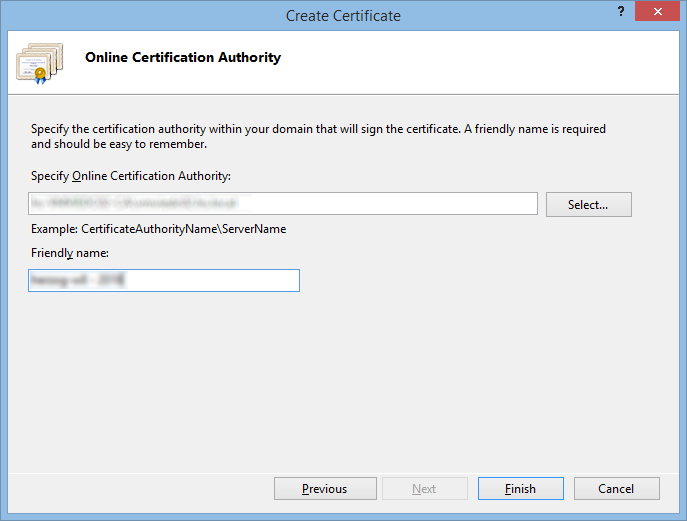
After clicking "Finish", the certificate is generated on the server, downloaded and stored as machine certificate.
Step by Step
Generate the Request as a file, then upload the file to a CA and have it sign it!
1. Generate the Request
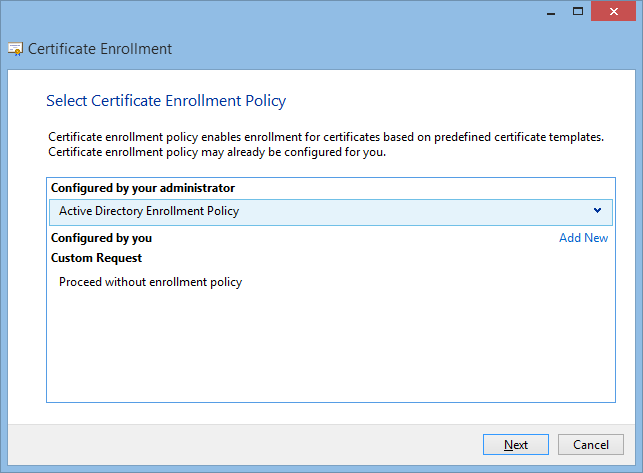
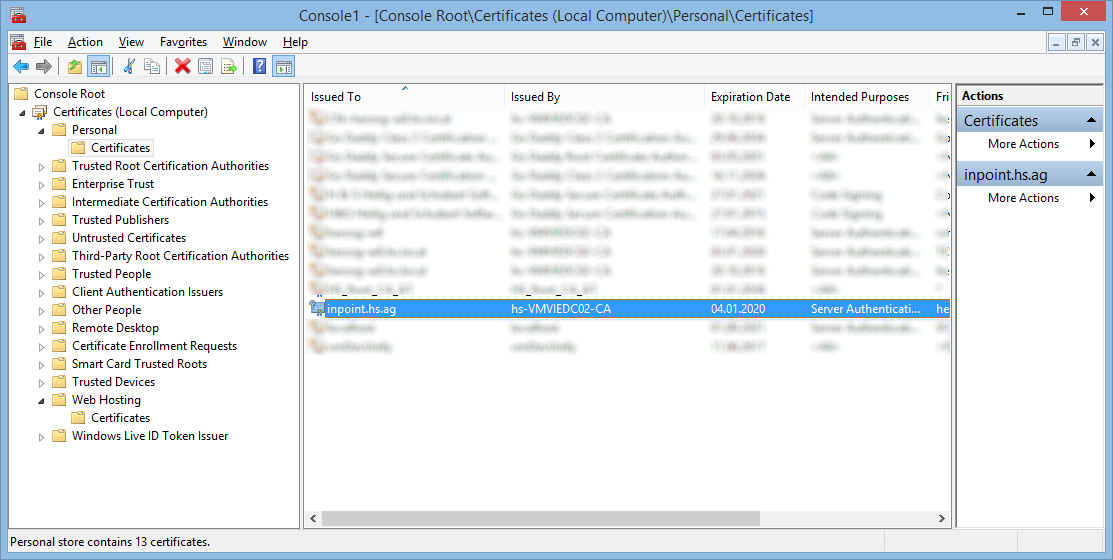
In Windows' search box type "Manage Computer Certificates" or start it directly from the command line using certlm.msc.
Right-click Personal, All Tasks / Advanced Operations / Create Custom Request
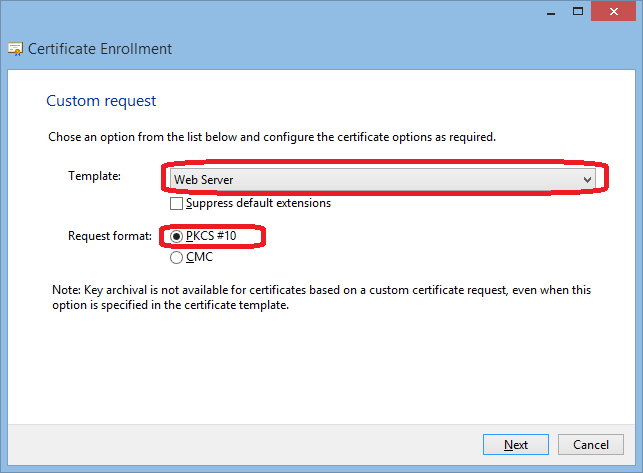
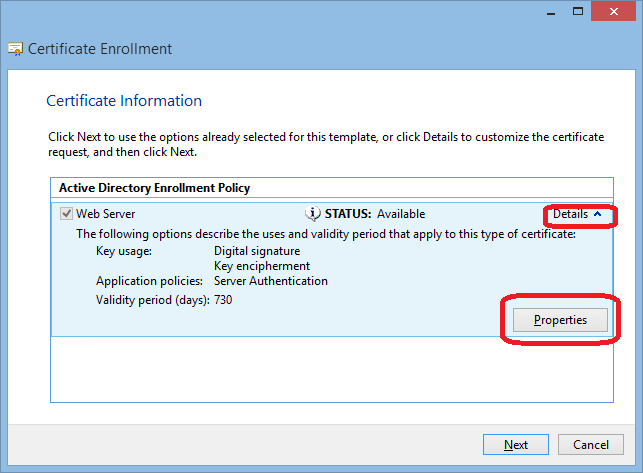
Here add all values for the subject and the alternative subject. At least the full qualified name of the server is required! Select the type (e.g Common Name), enter the Value and then click Add.
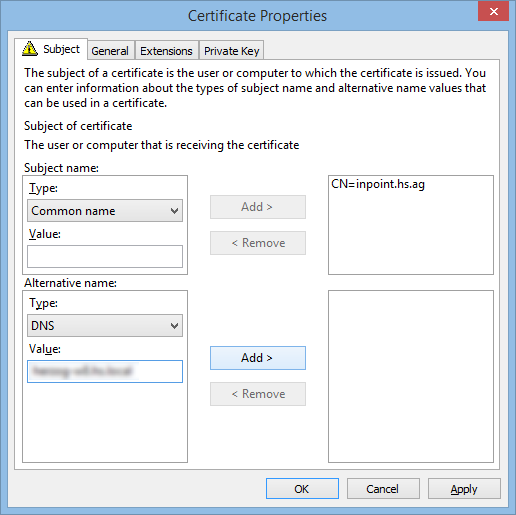
Important:
The same subject name should be added also in the alternative names!
Subject name -> Type: Common name
Alternative name -> Type: DNS
In the example (Screenshot):
inPoint.hs.ag should be inside "subject name" AND "alternative name"
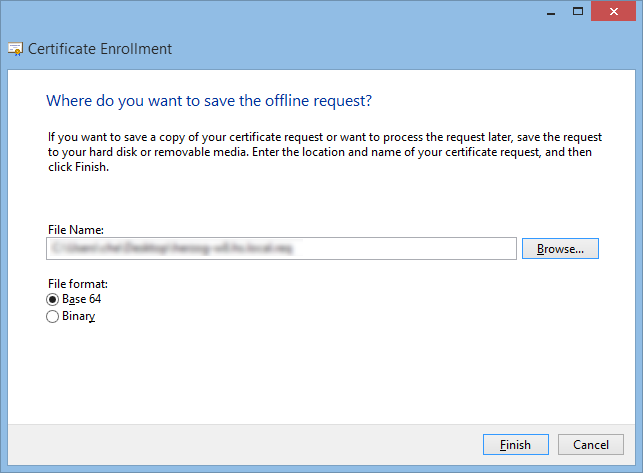
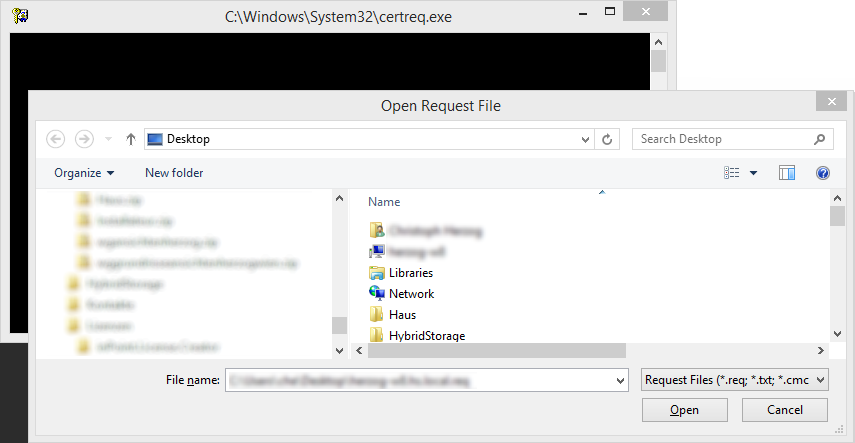
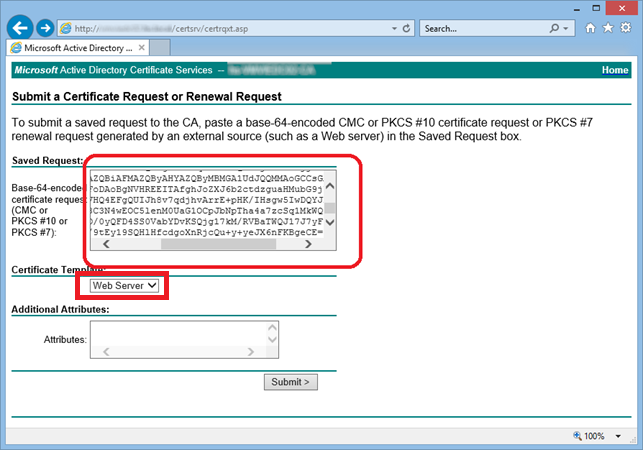
2. Submit the Request
Submit the generated request and get the certificate back.
using CertReq
If this would work on the original computer, it would have been possible to use the automatic way, so probably the request will be copied to the correct computer and processed from there.

using Active Directory Certificate Services Web Portal
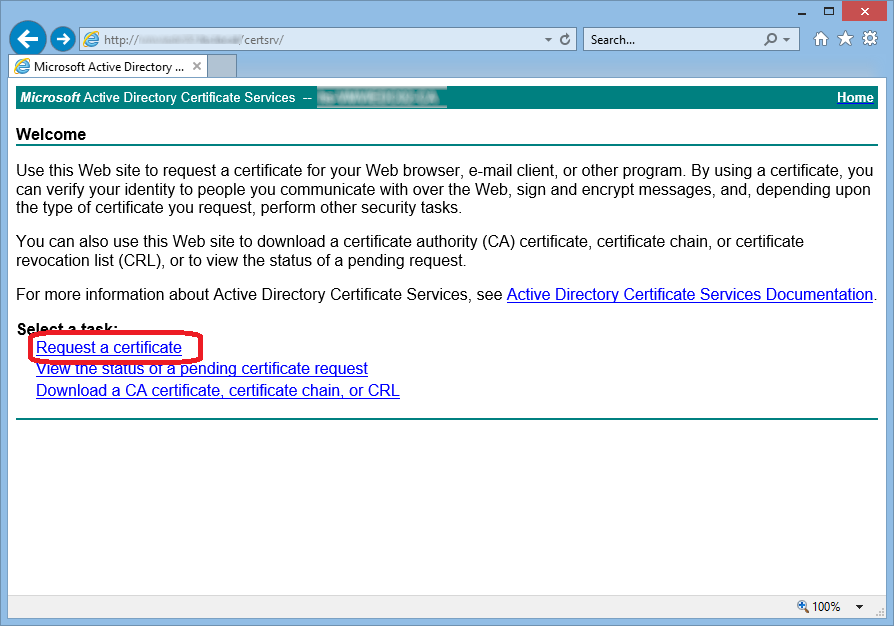
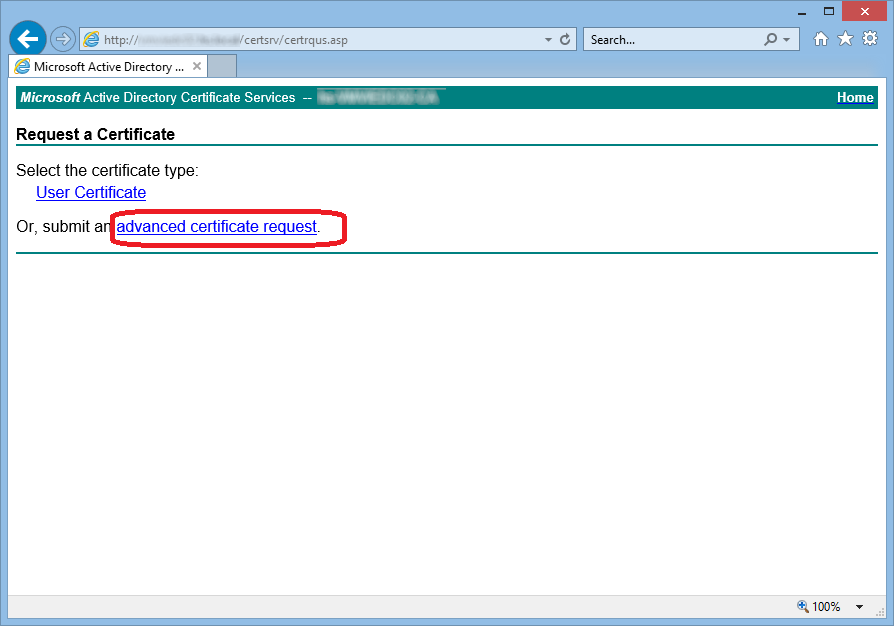
submit to any other CA
Depending on the vendor, that could we a custom web portal to upload the request or maybe even sending the request by mail.
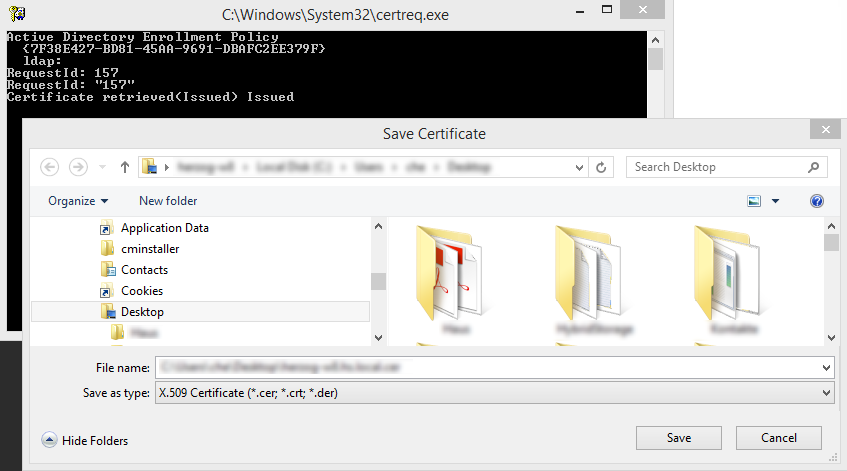
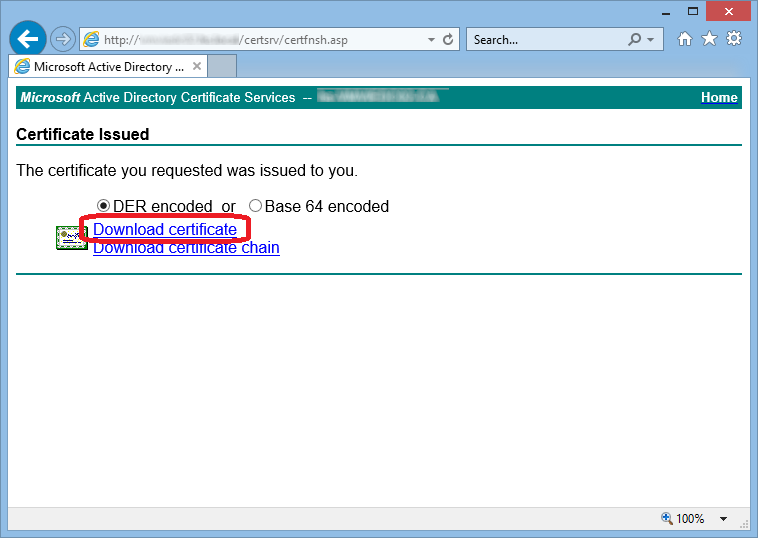
3. Install Certificate on local host
Copy the .cer file to your host,
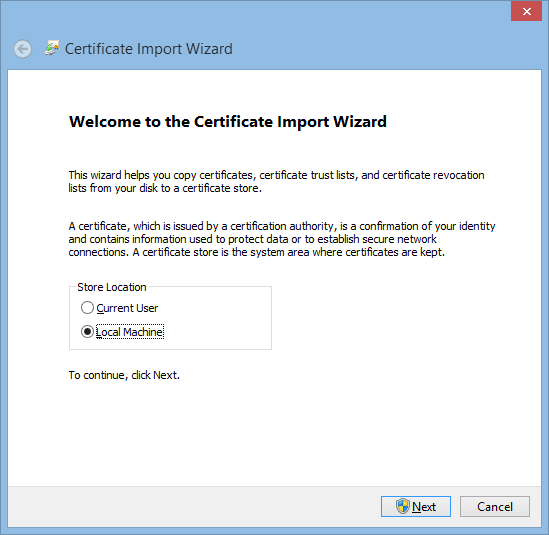
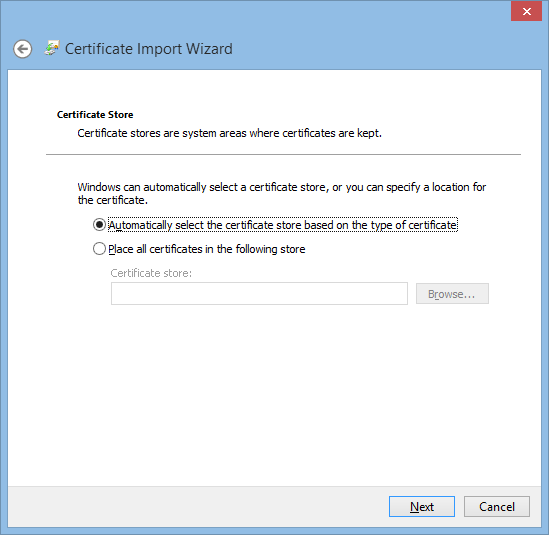
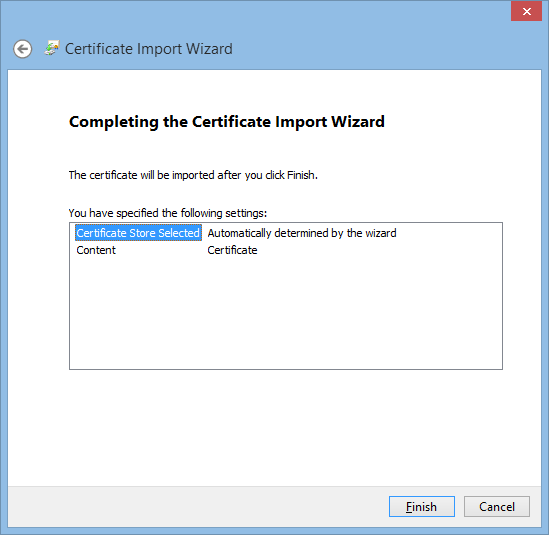
Double-Click the file and then "Install Certificate".
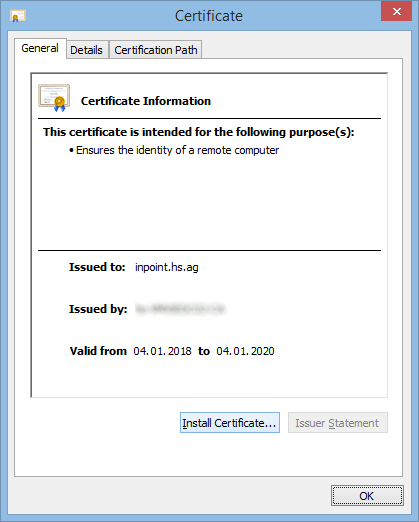
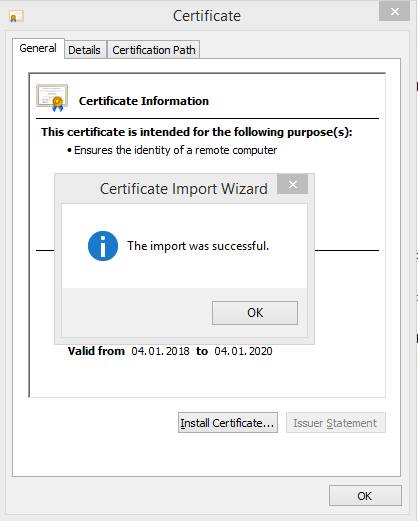
Your Certificate should then be visible in your local "Manage Computer Certificates".
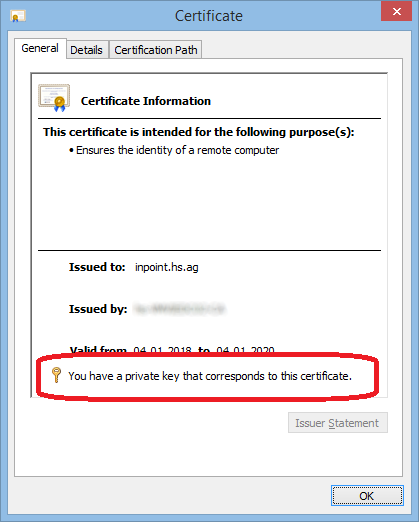
If you double-click it, it should show a Private key.
Self signed
This is for testing only, because the certificate is not signed by a trusted CA and therefore only works on the machine where it was created. Execute one of the following powershell commands as administrator, the subject and the thumbprint will be written to the output.
The fully qualified domain name of the machine is fetched via a DNS lookup. If the DNS lookup fails use the second example.
New-SelfSignedCertificate -Subject "$([System.Net.Dns]::GetHostByName($env:computerName).HostName)"
Fill out the <fqdn> with the fully qualified domain name of the machine (e.g. computer.example.com).
New-SelfSignedCertificate -Subject "<fqdn>"
Configure with Kestrel
For all services which use Kestrel and not "http.sys" the certificate is configured directly in "appsettings.json" (no need for netsh commands).
You can either specify a subject of a certificate in the certification store or a path to a certificate on disk. The first version allows you to automatically renew certificates without having to change anything (It will pick the most valid certificate automatically upon start).
Given by Subject (recommended)
Ensure that the subject contains the full qualified computer name! The system will search all certificates which contain the given text and use the first certificate found! Depending on the environment the first name can be Host or Kestrel.
"Host": {
    "Certificates": {
        "Default": {
            "Subject": "<subject; required>",
            "Store": "<certificate store; required>",
            "Location": "<location; defaults to CurrentUser>",
            "AllowInvalid": "<true or false; defaults to false>"
        }
    }
}
Subject
The subject of the certificate from the computer or user certificates (e.g. the full qualified name of the server).
Store
The name of the store of the certificate. Use My when the certificate is saved in the folder called Personal in the Certificate Manager tool of Windows (certlm.msc or ertmgr.msc).
Location
Which certification store is used.
LocalMachinefor machine certificates (make sure that the windows user who runs the service has access).CurrentUserfor the user certificates.
AllowInvalid
Allows the certificate to be invalid (e.g. expired), use only for testing!
Details
The subject is converted to a "simple name" where all object identifiers (OIDs) are discarded. And each entries are separated by a comma followed by a space (, ) all ordered in reverse order as seen in the certificate (starting with country, postal-code, state,...).
e.g.:
CN = serviceportal.hs.ag
O = H & S Heilig und Schubert Software AG
L = Wien
S = Wien
C = AT
Is translated to AT, Wien, Wien, H & S Heilig und Schubert Software AG, serviceportal.hs.ag
So any text part like AT or even W would match this certificate, most advisable would be to use serviceportal.hs.ag or the whole text in the configuration.
Verify Certificate Lookup
If in doubt use this powershell script to verify the uniqueness of the given subject (adapt the first three variables as needed).
Here it will search in machine certificates and inside the folder Personal for a certificate where the subject contains 'computer.example.com'.
$certSubject  = 'computer.example.com'
$certStore    = 'My'
$certLocation = [System.Security.Cryptography.X509Certificates.StoreLocation]::LocalMachine

$store=new-object System.Security.Cryptography.X509Certificates.X509Store($certStore, $certLocation)
$store.open("ReadOnly")
$certs = $store.Certificates.Find([System.Security.Cryptography.X509Certificates.X509FindType]::FindBySubjectName, $certSubject , $true)

if($certs.Count -eq 1)
{
    Write-Host "'$certSubject' OK" -ForegroundColor Green
}
elseif($certs.Count -eq 0)
{
    Write-Host "'$certSubject' not Found" -ForegroundColor Red
}
else
{
    Write-Host "'$certSubject' is not unique" -ForegroundColor Red
}

foreach($c in $certs)
{
    "Certificate found: {0} - expiry: {1:yyyy-MM-dd} - Name: '{2}' - FriendlyName: '{3}'" -f $c.Thumbprint, $c.NotAfter ,$c.Subject, $c.FriendlyName
}
Given by Path
Specify a physical .pfx file and password (not recommended - except for Docker containers).
Path
This is the path (full or relativ) when using an certificate in the file-system.
Password
This is the password of the certificate in the file-system.
"Host": {
    "Certificates": {
        "Default": {
            "Path": "myCertificate.pfx",
            "Password": "certPassword"
        }
    }
}